How to Convert a Screenshot Into a Clean, Non‑Pixelated SVG
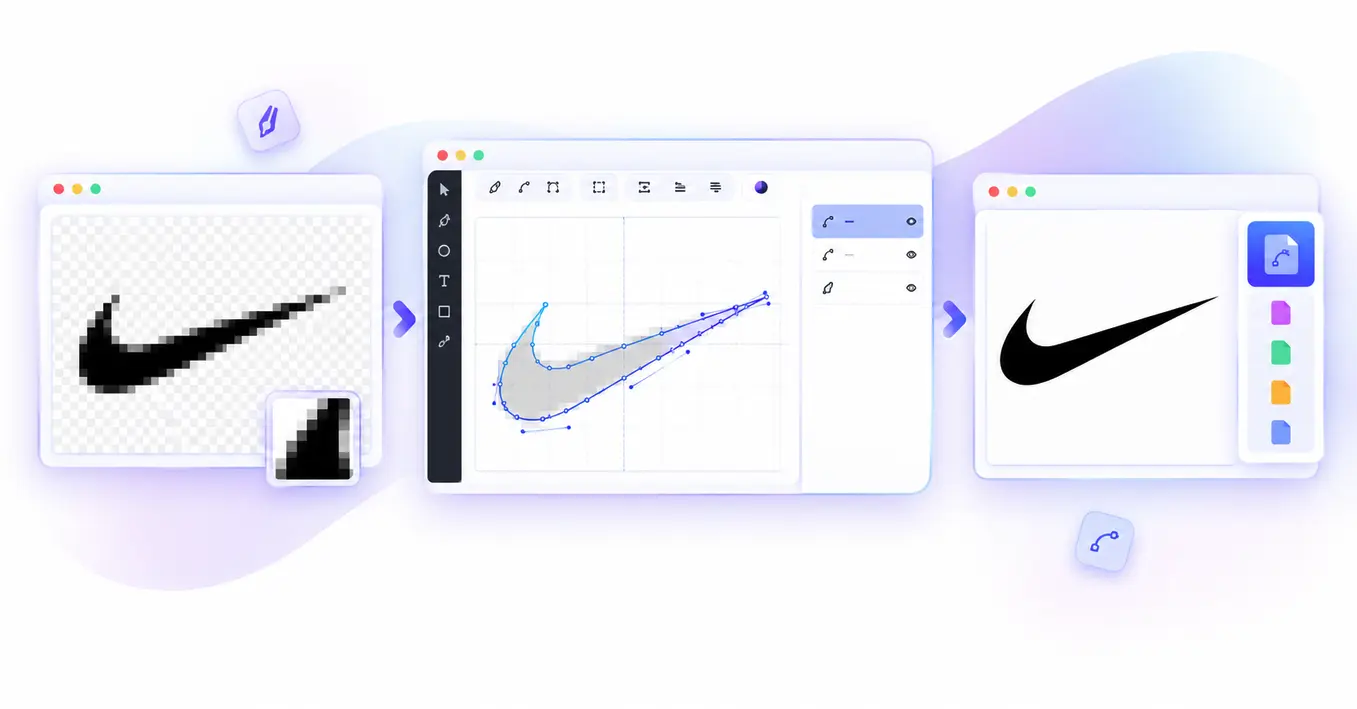
You screenshot a logo, an icon, or a UI element because you can't find the original file anywhere. It looks fine at the size you grabbed it. Then you try to use it somewhere bigger, a slide, a banner, a printed piece, and it turns into a soft, blocky mess. This isn't something you did wrong. It's just what happens when you scale up a fixed‑resolution image.
Here's exactly why screenshots pixelate, and a full walkthrough of turning one into a clean SVG using SVGMaker's AI svg converter.
Did you know? A study of real smartphone camera rolls, covered by The Conversation, found that on average, roughly one in four images people keep on their phones is a screenshot, not a photo. Screenshots have quietly become one of the most common image types anyone deals with, which makes “how do I actually use this thing at a bigger size” a question worth answering properly.
Why Screenshots Pixelate When You Scale Them Up
A screenshot is a raster image: a fixed grid of colored pixels captured at one specific resolution. Enlarge it, and there's no new detail to reveal. The software just stretches the existing pixels and fills the gaps with an estimate, which is exactly what produces that soft, blurry look.
An SVG works on a completely different principle. Instead of storing a pixel grid, it stores mathematical instructions for shapes, curves, and lines. Scale it up to billboard size or down to a favicon, and the math redraws it perfectly sharp every time, because there's no fixed resolution to run out of.
Step 1: Capture the Cleanest Screenshot You Can
Your final SVG can only be as clean as the image you start with, so this step matters more than people expect.
Crop tight. Include only the element you actually need. A converter has to interpret everything inside the frame, and extra surrounding content just adds noise it has to make sense of.
Save as PNG, not JPEG, whenever you have a choice. JPEG compression introduces small blocky artifacts around edges to shrink file size, and those artifacts get read as real detail during vectorization, leaving you with messy, uneven paths. PNG is a lossless format with no compression artifacts, which gives the AI a clean source to work from. Convenient fact worth knowing: screenshots on Mac, Windows, iPhone, and Android all save as PNG by default already, so most people are already starting from the right format without thinking about it.
Quick reference for taking the screenshot itself:
| Platform | How to take it |
|---|---|
| Mac | Cmd+Shift+4, then drag over the area you want |
| Windows | Win+Shift+S opens the Snipping Tool for a custom selection |
| iPhone | Side button + Volume Up together, then crop in the Photos app |
| Android | Power + Volume Down together (varies slightly by manufacturer) |
Step 2: Open SVGMaker's AI Converter
Go to the AI SVG Converter. This tool accepts PNG, JPG, WebP, TIFF, and BMP, so whatever format your screenshot ends up in, it's supported directly with no pre‑conversion needed.
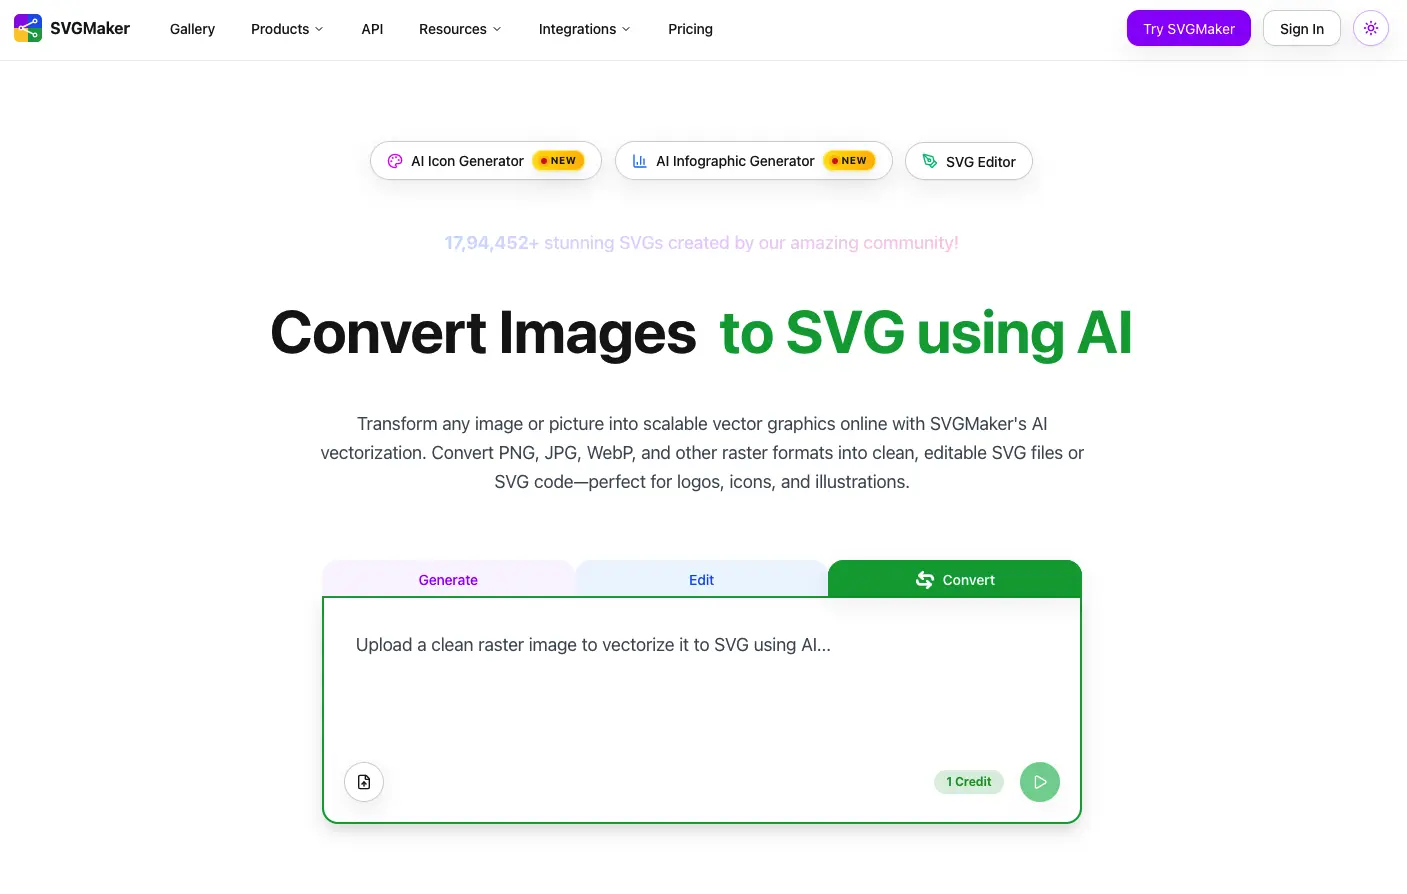
If your screenshot is specifically a PNG, which most are, you can also use the dedicated PNG to SVG converter directly. Same underlying engine, just a more specific entry point already tuned to that exact format.
Step 3: Upload and Let the AI Vectorize It
Drop your screenshot in and let the AI do its pass. Here's what's actually happening: rather than tracing every pixel boundary literally the way basic auto‑trace tools do, the AI reconstructs the image as a simplified set of shapes and curves, aiming for smooth paths with minimal anchor points instead of the jagged, noisy output you'd get from a purely mechanical tracer.
This matters specifically for screenshots, more than for original artwork. Your screen renders text and icons with soft, anti‑aliased edges to make them look smoother to your eye. A literal, mechanical tracer tends to interpret that softness as actual detail, adding unnecessary extra paths around every edge. Reconstructive AI vectorization handles this more gracefully, since it's rebuilding the shape rather than tracing every blurred pixel.
Step 4: Handle the Background
Screenshots almost always come with an unwanted background: a browser chrome, a solid app background color, or just empty space around the element you actually wanted. SVGMaker's svg converter can detect and preserve existing transparency from your source image, or remove a solid background during conversion, so you don't need a separate background‑removal step for most screenshots.
If your screenshot has a busy or complex background you specifically want gone, check that this is handled before moving on, since it's much easier to fix at this stage than after you've already downloaded the file.
Step 5: Review the Result for Screenshot-Specific Issues
A good conversion tool handles most of this automatically, but it's worth knowing what to check for, since these three issues come up specifically with screenshots more than with clean, original artwork.
Anti‑aliased edges. Covered above. If you still see slightly rough or doubled edges around text or icons, this is almost always the cause.
Text becomes outlines, not editable text. Any vectorization method converts text in your screenshot into path shapes that look like the original letters but can no longer be edited as text. If you need the words themselves to stay editable, plan to retype them separately after conversion rather than expecting the vectorized version to behave like a text layer.
Shadows and gradients get simplified. Screenshots of UI elements often include soft drop shadows or gradient fills. AI reconstruction approximates these reasonably well, but rarely with perfect fidelity to the original. If a gradient looks slightly banded rather than smooth, that's a known limitation of vector paths trying to represent continuous color, not a mistake in the conversion.
Step 6: Clean Up Any Rough Edges
If something still looks slightly off after conversion, usually around one of the three issues above, you don't need to start over. The SVG editor lets you adjust individual paths and elements using the prompt method, whether that's smoothing an edge, deleting a stray shape, or fixing a detail the AI didn't quite nail.
If the colors need adjusting, whether that's simplifying a busy palette down to your actual brand colors or just recoloring the whole thing, the SVG color editor handles this without touching the underlying geometry, including auto‑detecting and reducing color count if your screenshot picked up more shades than you actually need.
Step 7: Export Your Finished SVG
Once it looks right, download the file. Because it's a genuine vector file rather than a raster image dressed up in an SVG wrapper, it will scale cleanly from a tiny favicon to a large printed banner without any loss of quality, which is the entire problem you started out trying to solve.
Frequently Asked Questions
1. Will every screenshot convert perfectly?
No. Simple, high‑contrast screenshots (logos, icons, flat UI elements) convert cleanly. Screenshots of complex photographic content or very detailed scenes will always produce a stylized vector approximation rather than a pixel‑perfect match, since that's a fundamental property of vector paths, not a limitation of any specific tool.
2. Why does the text in my converted SVG look slightly rough?
Text edges in a screenshot are anti‑aliased and often small, making them one of the harder elements to convert cleanly. If the text itself matters more than the surrounding graphic, retyping it as real text after conversion is usually faster than trying to perfect the traced outline.
3. Does converting a screenshot to SVG make the file smaller?
For simple graphics like logos, icons, and flat UI elements, usually yes, often significantly. For complex or photographic screenshots, a vectorized version can occasionally end up larger than a well‑compressed raster equivalent, since representing fine detail requires many individual paths.
4. Can I convert a screenshot that includes a photo, not just an icon or logo?
Yes, but expect a stylized result rather than a photorealistic one. Vectorization approximates shapes and color regions, which suits flat graphics far better than photographic detail.
5. What if my screenshot has a background I want to keep, not remove?
SVGMaker's converter can preserve existing transparency or a background you want kept, rather than removing everything automatically. If a background disappears that you actually wanted, check the conversion settings before assuming it can't be done.
6. Do I need any design software to do this?
No. The entire process, uploading, converting, cleaning up, and exporting, happens in the browser. The editor and color editor are there if you want more control, but they're optional rather than required steps.
7. Why is my screenshot's screen resolution not translating to a bigger, sharper SVG?
Resolution matters less than most people expect once you're vectorizing rather than just resizing a raster file. A smaller, clean PNG screenshot with no compression artifacts typically converts better than a larger screenshot saved as a compressed JPEG, since the AI is reading shapes and edges, not raw pixel count.
The blurry screenshot problem was never really about the screenshot being bad. It's a raster image doing exactly what raster images do when asked to be a different size than they were captured at. Converting it into an actual vector file solves that permanently, rather than just buying you a slightly higher‑resolution version of the same underlying limitation.